
The fastest safe way to frame most posters is to mount them to acid-free foam core using archival photo corners, pair that with UV-filtering glazing (glass or Acrylite OP-3 acrylic), and hang with D-ring hardware. That combination protects the paper, keeps the job reversible, and costs far less than a custom framer.
For temporary or rotating displays, two faster alternatives work well:
- Removable poster strips like FrogTape reMOVEables, which hold up to 0.5 lb per strip on smooth, firm surfaces and peel off without wall damage
- Scotch Removable Poster Tape applied along the edges (and an X across the back for larger prints), which removes cleanly from most painted walls but is not recommended for wallpaper or flat-painted surfaces
A fully framed DIY job typically takes 45–60 minutes once your materials are laid out and your workspace is clean. Removable strips take under five minutes. The tradeoff is protection: strips are fine for a trendy print you'll swap out next season; a frame with UV glazing is what you want for anything you actually care about.
Key Takeaways
The best way to frame a poster is to mount it with reversible methods, use UV-filtering glazing, and match the care level to the poster's value.
| Point | Details |
|---|---|
| Use reversible mounting | Photo corners or top-edge hinges protect originals; adhesive foam core is fine for replaceable prints. |
| UV glazing is the priority | UV-filtering acrylic (like Acrylite OP-3) blocks roughly 98% of UV radiation and weighs less than glass for large frames. |
| Flatten before framing | Press rolled posters flat under blotters for 24–72 hours before mounting to prevent bubbles and bowing. |
| Budget 45–60 minutes | A prepared DIY framing job takes 45–60 minutes; add flattening time if the poster arrived rolled. |
| Know when to hire a pro | Tears, brittleness, water stains, or collector value are all reasons to consult a professional conservator. |
Table of Contents
- How to frame posters step by step, from measuring to hanging
- What materials and tools do you actually need?
- How to flatten a rolled poster safely before framing
- How do you choose the right frame style, size, and mat?
- Glass vs. acrylic: which glazing should you choose?
- Mounting methods: how to attach a poster without damaging it
- Framing very large posters affordably and securely
- Special care rules for vintage or valuable posters
- When does hiring a professional framer actually make sense?
- Common framing mistakes and how to fix them
- Research-backed quick notes: time, adhesives, and safe temporary hanging
- The part most framing guides skip
- Sources
How to frame posters step by step, from measuring to hanging
Follow this sequence and you won't have to open the frame twice. According to wikiHow's 7-step framing workflow, the order of operations matters as much as the materials.
- Prep your workspace. Clear a large, flat, clean surface. Lay down a microfiber cloth or clean cotton sheet. Dust and debris are the enemy — they show up as specks under the glazing after you close the frame.
- Measure the poster, not the frame box. Measure the aperture (the visible opening inside the frame lip), not the exterior frame dimensions. A standard 24×36 frame aperture is typically 23.75×35.75 inches. Check your poster's actual size against that opening before buying anything.
- Decide on a mat and cut or order it. If you're using a mat, calculate the mat opening with a 0.25-inch overlap on each side so the mat lip holds the poster edge. A 2–4 inch mat border is standard for posters.
- Choose your mounting method. Photo corners for originals; archival hinging tape along the top edge for heavier stock; acid-free foam core adhesive mounting for budget prints you don't need to preserve. More on each below.
- Assemble layers in the correct order: glazing → mat (if using) → poster → backing board. Never reverse this sequence.
- Secure the backing. Use a point driver or small flathead to push glazier points into the frame rabbet every 4–6 inches. Fold kraft paper over the back and seal with gummed tape to keep dust out.
- Install hanging hardware and hang level. Attach D-rings about one-third down from the top on each side, run picture wire between them, and use a level when marking the wall. Pull the wire upward to test tension before hanging.
Final inspection checklist before you close the frame for good:
- No dust specks visible through the glazing (hold it up to a light source at an angle)
- Poster is centered in the mat opening
- Wire is taut and hardware is seated firmly
- Frame corners are flush with no gaps
Pro Tip: Clean both sides of the glazing with a microfiber cloth just before assembly. Even a single fingerprint trapped inside will bother you every time you look at the finished piece.
What materials and tools do you actually need?
The short answer: a tape measure, a T-square, gloves, a microfiber cloth, a point driver (or small flathead screwdriver), and a utility knife for mat trimming. Everything else depends on your budget and how much you care about preservation.
Basic tools checklist:
- Tape measure and T-square (for accurate cuts and square alignment)
- Cotton or nitrile gloves (keep oils off the poster and glazing)
- Microfiber cloths (two: one for glazing, one for the workspace)
- Point driver or small flathead (to seat glazier points)
- Utility knife and cutting mat (if trimming mat board yourself)
Materials at a glance:
| Material | Budget option | Archival/preservation option |
|---|---|---|
| Frame | Pre-made metal or wood snap frame | Solid wood moulding with deep rabbet |
| Glazing | Standard 2mm glass | UV-filtering acrylic (Acrylite OP-3) |
| Mat board | Any mat board | Acid-free, lignin-free mat board |
| Backing | Corrugated cardboard | Archival foam core or acid-free backing board |
| Mounting | Double-sided tape to foam core | Archival photo corners or Japanese tissue hinges |
| Hanging hardware | Sawtooth hanger | D-rings with braided picture wire |
On the two must-know products: Scotch Removable Poster Tape is widely available at Target, Walmart, and office supply stores across the U.S. It's a solid choice for temporary mounting to foam core when you're not worried about preservation. Acrylite OP-3 is a premium cast acrylic sheet sold through specialty glazing suppliers and some art supply retailers; it blocks UV and resists shattering, which makes it the go-to for large frames where glass weight becomes a real concern.
How your poster's paper stock behaves in the frame also shapes your backing choice. Heavier poster stock lies flatter and needs less support; lightweight paper is more likely to curl or sag and benefits from full foam core backing.
How to flatten a rolled poster safely before framing
A poster that won't lie flat will bubble, bow, or pull away from its mounting corners the moment you close the frame. Flatten it first, always.
- Unroll immediately on receipt. The longer a poster stays rolled, the more the curl sets into the paper fibers. Unroll it, lay it face-up on a clean flat surface, and place a few clean books along the edges for 30 minutes.
- Re-roll in the opposite direction around a larger tube. Take a mailing tube at least 3–4 inches in diameter, wrap the poster around it face out (opposite to its original curl), and secure loosely with rubber bands. Leave it for 1–2 hours.
- Press flat under clean blotters. Lay the poster face-down between two sheets of clean white blotter paper or acid-free tissue, then stack flat, heavy books on top. Leave it 24–72 hours. This is the most reliable method for stubborn curls.
- Use foam core as a flattening aid during mounting. If you're mounting to foam core anyway, lay the poster face-up on the board, weight the center gently, and let it rest for a few hours before attaching corners or hinges.
What not to do: Never iron a poster, even through a cloth. Heat can crack inks, warp coated paper, and permanently damage the surface. Dry-mounting presses use heat too and are irreversible. For fragile vintage pieces, skip all pressure and stick to the blotter method only.
Pro Tip: If a poster has a sharp crease (not just a curl), do not try to flatten it yourself. A conservator can humidify and press it safely. Forcing a crease flat at home usually makes it worse.
How do you choose the right frame style, size, and mat?
The mat question comes first because it changes your frame size. A mat adds visual breathing room, hides uneven poster edges, and creates a physical air gap between the poster and the glazing. That gap matters: direct contact between paper and glazing traps humidity and promotes mold, especially in rooms with temperature swings.
When to use a mat:
- The poster has rough or uneven edges you want to hide
- You want a more finished, gallery look
- The poster is valuable or vintage (the air gap is protective, not just decorative)
- The poster is smaller than the frame you already own
When to skip a mat:
- Tight budget and the poster fits the frame aperture cleanly
- You want an edge-to-edge, modern look
- The poster is a temporary display piece you'll replace
Mat sizing rules: For most posters, a 2–4 inch border looks proportional. Cut the mat opening 0.25 inches smaller per side than the poster's printed area so the lip holds the edge without covering content. Mat color affects perceived contrast sharply: a white mat brightens a light-colored poster; a black or dark mat makes colors pop on bold graphic prints like concert artwork.
Frame style: Thin metal frames (Nielsen-style) read clean and modern and work well for music and merch posters. Wood moulding adds warmth and suits vintage or fine-art pieces. Check the rabbet depth before buying: acrylic glazing plus a mat plus foam core backing adds up, and a shallow frame won't close.
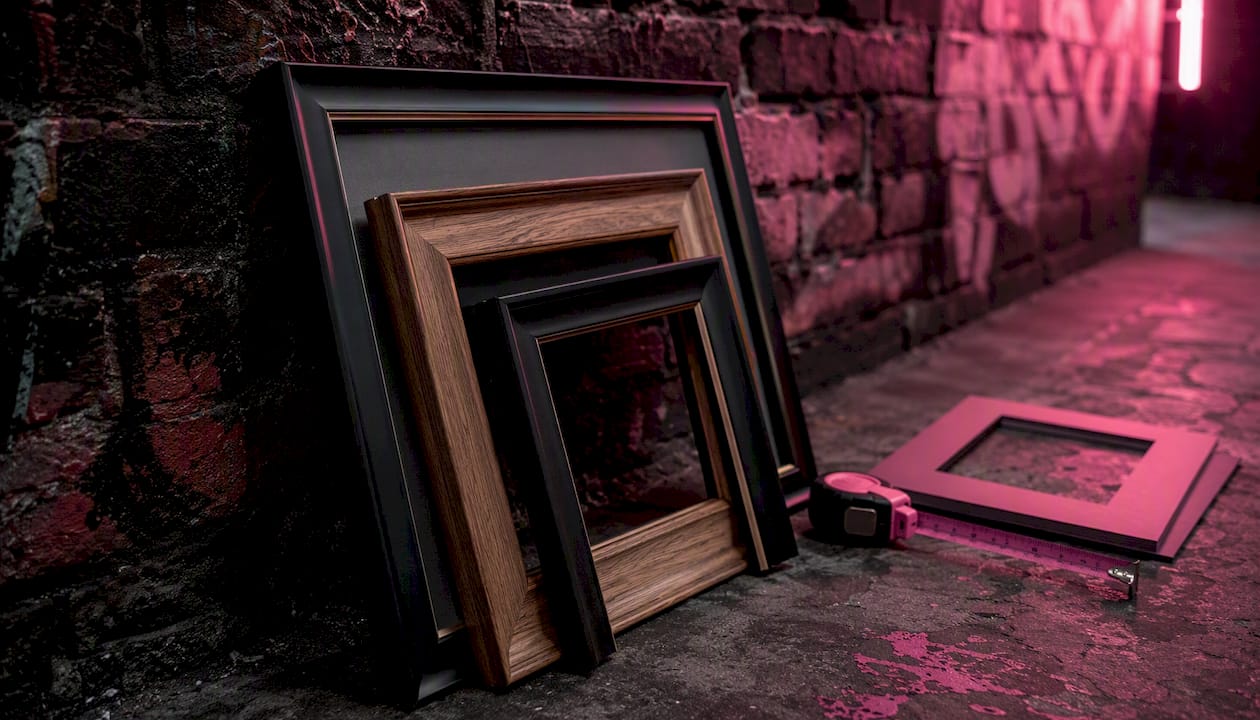
Pro Tip: Order mat board cut to size from an online framing supplier rather than cutting it yourself. A hand-cut mat with even a 1mm error looks crooked. Pre-cut mats from IKEA or art supply stores are cheaper than custom but cover only standard sizes.
Glass vs. acrylic: which glazing should you choose?
Glazing is where most people spend too little thought and too much money on the wrong thing. The single most important protective choice is UV filtering, not the material itself.
Regular glass is cheap, scratch-resistant, and widely available. It's heavy, shatters on impact, and blocks almost no UV. Fine for a poster in a dark hallway; a poor choice for anything near a window.
UV-filtering glass blocks a significant portion of UV radiation and is a step up, but it's heavier and more expensive than acrylic alternatives.
Clear acrylic (standard) is lighter than glass, shatter-resistant, and easier to handle for large frames. It scratches more easily and can build up static that attracts dust to the poster surface.
Acrylite OP-3 is a cast acrylic that blocks roughly 98% of ultraviolet radiation while staying significantly lighter than glass of the same size. For large frames (anything over 24×36), the weight difference alone makes it worth the higher price. It's also shatter-resistant, which matters if you're hanging something heavy in a high-traffic room.
Practical guidance by location:
- Near a window or in direct sunlight: UV-filtering glazing is non-optional. Fading from UV exposure is cumulative and irreversible.
- Interior wall, no direct light: Standard glass or clear acrylic works fine.
- Large format (over 24×36): Choose acrylic. The weight reduction makes hanging safer and the frame less likely to pull hardware out of drywall.
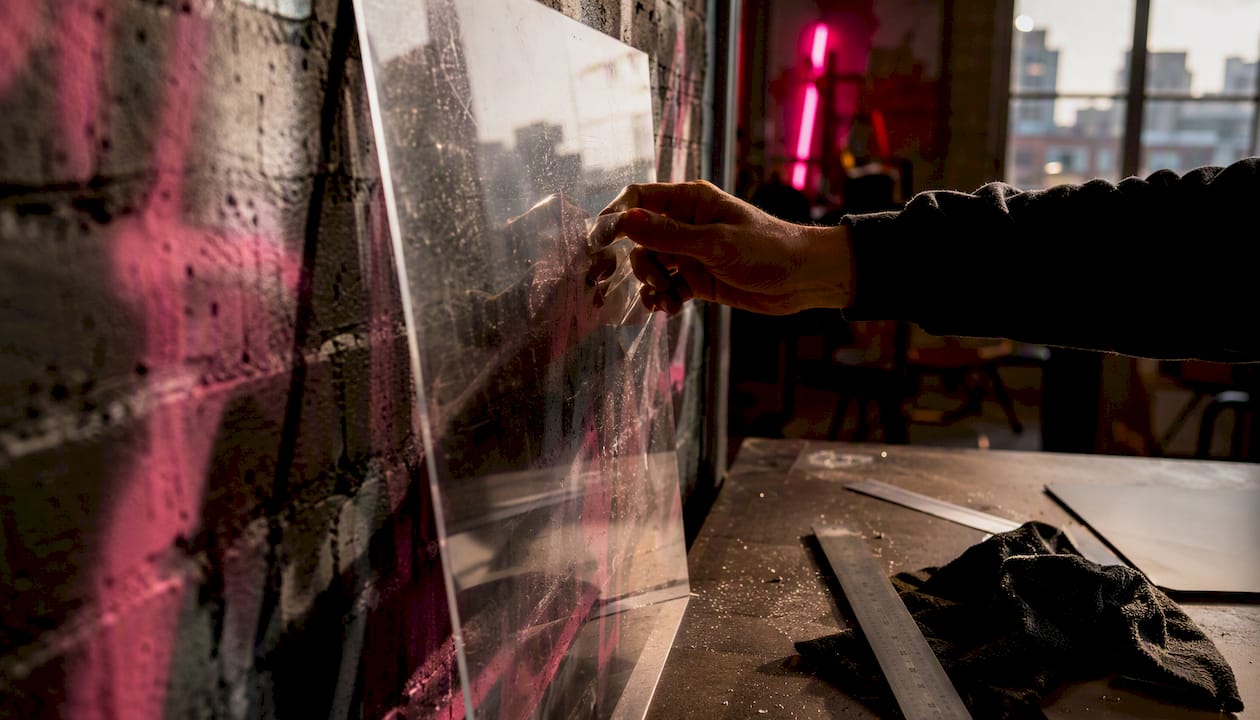
Pro Tip: Clean acrylic glazing with a soft microfiber cloth only. Paper towels scratch the surface. Use a product designed for acrylic, not glass cleaner, which can leave a haze. Handle sheets by the edges with gloves to avoid fingerprints that are nearly impossible to remove once trapped inside the frame.
Framing choices that protect art long-term follow the same logic as what makes a custom fine art portrait last: UV protection and reversible mounting are the two levers that matter most.
Mounting methods: how to attach a poster without damaging it
Mounting is where most amateur framers make irreversible mistakes. The rule is simple: if the poster has any value to you, use a reversible method.
Reversible options (recommended for originals):
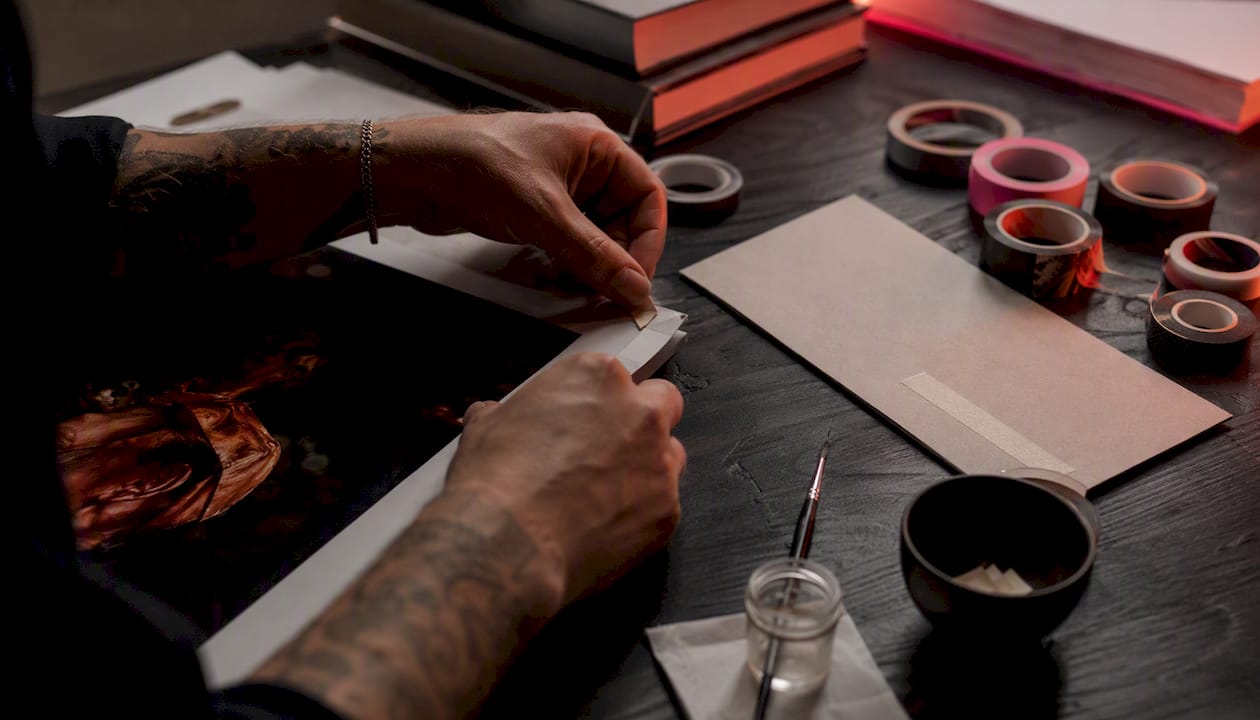
- Archival photo corners: Slip the poster's corners into pre-made mylar or paper corners adhered to the backing. Zero adhesive touches the poster. Easy to reposition.
- Top-edge hinging with Japanese tissue and wheat starch paste: Fold a small strip of Japanese tissue, paste one half to the top edge of the poster and the other to the backing. When dry, the poster hangs freely and the hinge dissolves safely in water if you ever need to remove it. This is the conservation standard.
- Archival hinging tape: A faster alternative to Japanese tissue for less valuable pieces. Apply along the top edge only so the poster can expand and contract with humidity changes.
Semi-permanent/budget option:
Acid-free double-sided mounting tape to foam core works for prints you're not trying to preserve. Apply tape along all four edges of the foam core, press the poster down firmly, and smooth from center outward to avoid bubbles. This is permanent enough that removal will likely damage the poster.
What to avoid entirely for originals:
- Pressure-sensitive tapes (masking tape, regular double-sided tape, duct tape) applied directly to paper. They yellow, dry out, and chemically damage the paper over time.
- Heat-based dry-mounting. It's irreversible and destroys collector value.
- Spray adhesives. Uneven coverage causes bubbles and the bond degrades unpredictably.
For temporary wall display without a frame, applying double-sided tape along the edges and adding an X pattern across the back for larger prints is a practical method, though frames always offer better long-term protection.
| Method | Reversible? | Safe for originals? | Difficulty |
|---|---|---|---|
| Photo corners | Yes | Yes | Easy |
| Japanese tissue hinges | Yes | Yes (conservation grade) | Moderate |
| Archival hinging tape | Partially | Yes, with care | Easy |
| Foam core + acid-free tape | No | No | Easy |
| Pressure-sensitive tape | No | No | Easy |
| Dry-mounting | No | No | Requires equipment |
Framing very large posters affordably and securely
Large-format posters (anything over 24×36, and especially 27×40 movie one-sheets or 36×48 prints) present two problems: weight and cost. Both are solvable.
Cost-cutting strategies that don't sacrifice protection:
- Buy pre-cut acrylic sheets from a plastics supplier rather than a framing shop. The same Acrylite-grade material costs significantly less when you're not paying for custom cutting at a frame counter.
- Use lightweight acrylic glazing instead of glass. For a 36×48 frame, the weight difference between glass and acrylic can be 10 pounds or more.
- Back the poster with a full sheet of archival foam core or MDF. Large lightweight paper sags without rigid support.
- Build a simple wood moulding frame from pre-cut lengths sold at home improvement stores. Mitered corners, wood glue, and corner clamps produce a solid frame for a fraction of custom pricing.
Hanging hardware for large and heavy frames:
- Use two D-rings (not a single sawtooth hanger) positioned one-third down from the top on each side.
- For frames over 5 lbs, use toggle anchors in drywall rather than relying on a single stud. A 50 lb toggle anchor costs under $5 and eliminates the risk of the frame pulling out of the wall.
- Run braided steel picture wire, not twisted wire, which can fray and snap under sustained load.
Pro Tip: For very large prints you want to display without the weight of full glazing, consider a floating rail system: two aluminum rails (top and bottom) clamp the poster edges and hold it flat against the wall. No glazing, no frame, minimal cost. It won't protect against UV or humidity, but for a large decorative print in a low-light interior room, it's a clean, affordable solution.
Special care rules for vintage or valuable posters
Vintage posters are where DIY enthusiasm can cause permanent, irreversible damage. The conservation rules here are not suggestions.
What to avoid, without exception:
- Heat-based dry-mounting. It bonds the paper to a substrate permanently and destroys any resale or collector value.
- Pressure-sensitive tape of any kind applied directly to the paper. It migrates chemically into the fibers over years and cannot be removed without damage.
- Mounting at all four edges. Paper expands and contracts with humidity; fixing all edges causes buckling and tearing.
What to do instead:
- Hinge at the top edge only using Japanese tissue and wheat starch paste. The poster hangs freely and can move with seasonal humidity changes.
- Use UV-filtering glazing that blocks roughly 98% of UV radiation and always include a mat to keep the paper from touching the glazing surface.
- Back with archival foam core or acid-free backing board. Never use regular cardboard, which is acidic and will transfer to the poster over time.
- Rotate displayed pieces periodically and store extras flat in acid-free sleeves in a cool, dry location away from light.
Red flags that mean you should stop and call a conservator:
- Tears or losses in the paper
- Brittleness (the paper cracks when you try to unroll it)
- Water stains, tide lines, or active mold
- Heavy foxing (brown spots from fungal or oxidative damage)
Professional conservators use linen backing and conservation-grade mounting techniques that are beyond what any DIY setup can replicate safely. The cost of a conservator is almost always less than the value lost by a bad DIY attempt on a rare piece.
For collectible merch and autographed pieces, the same logic applies as with caring for waterproof vinyl stickers and collectible fan items: reversible is always safer than permanent.
When does hiring a professional framer actually make sense?
DIY framing covers most situations. A professional framer is worth the cost in specific ones.
Services a pro provides that DIY can't easily replicate:
- Conservation mounting with linen backing and museum-grade adhesives
- Custom-cut mats in any size, color, and bevel profile
- Museum-grade acrylic (Tru Vue Optium or equivalent) with anti-reflective coating
- Humidity-controlled backing and frame sealing
- Documentation for insurance purposes (condition reports, materials list)
Scenarios where a pro protects value:
- The poster is an original, a signed piece, or has collector value
- It needs restoration (tears, stains, flattening of a brittle piece)
- It's very large and requires custom-cut glazing beyond standard sheet sizes
- You want a complex multi-opening mat or a shadow box presentation
Cost factors to understand before you get a quote:
Frame material, glazing type, mat complexity, and labor are the four main cost drivers. A simple metal frame with standard glass and a single mat runs less than a solid wood moulding frame with museum acrylic and a double mat. Neither price is wrong; they serve different purposes.
How to get a useful quote:
- Measure the poster dimensions precisely (width × height in inches).
- Note the poster's age, condition, and whether it has any existing damage.
- Bring the poster in person if possible; framers assess condition by looking, not by description.
- Ask specifically whether the mounting method is reversible.
- Ask what glazing they're recommending and why.
A framer who can't answer the reversibility question clearly is not a conservation framer.
Common framing mistakes and how to fix them
Dust specks under the glazing. The most common problem. Fix: open the frame, wipe both sides of the glazing with a fresh microfiber cloth, and reassemble in a low-dust environment (a bathroom after running a hot shower works well to settle airborne particles).
Bubbles or bowing in the poster. Usually caused by incomplete flattening before mounting or by mounting all four edges. Fix: remove the poster, flatten it under blotters for 24–48 hours, and re-mount using top-edge hinges or photo corners only.
Crooked image inside the frame. Loosen the backing, slide the poster to center, and re-secure. If you used photo corners, this takes about 30 seconds. If you used adhesive mounting, you may need to reframe.
Trapped moisture or condensation inside the frame. Unmount immediately. Lay the poster flat between clean blotters and let it dry completely in a room with good air circulation. Do not use heat. If mold is visible, consult a conservator before doing anything else.
Cheap acrylic that scratches or hazes. Replace it. Thin economy acrylic scratches from the inside out as the poster shifts slightly over time. Upgrading to a thicker, higher-grade sheet is a one-time fix.
Pro Tip: If you're reframing a poster that was previously dry-mounted to foam core, do not try to separate them yourself. The adhesive bond is usually stronger than the paper. A conservator can sometimes release dry-mounted pieces with controlled humidity, but it's a delicate process.
Research-backed quick notes: time, adhesives, and safe temporary hanging
A prepared DIY framing project typically takes 45–60 minutes from start to hang. That assumes your frame is the right size, your glazing is cut, and your workspace is ready. Add 24–72 hours if you need to flatten the poster first.
Archival safety rules (non-negotiable for anything you want to last):
- Avoid all pressure-sensitive tape directly on paper
- Use only acid-free mat board, backing, and mounting materials
- Choose reversible hinging if the poster has any preservation value
- Keep UV-filtering glazing between the poster and any light source
Temporary hanging: what the products actually say:
FrogTape reMOVEables poster strips hold up to 0.5 lb per strip on smooth, firm surfaces. For a standard lightweight poster, four strips (two per side) provide adequate hold. Neither FrogTape strips nor Scotch Removable Poster Tape are recommended for wallpaper or flat-painted surfaces, where removal can pull paint or damage the wall finish. Test a small area first.
For larger prints hung temporarily without a frame, placing tape along all four edges plus an X across the back distributes the load more evenly and reduces the risk of corners peeling away.
Pro Tip: Before applying any removable strip or tape to a wall, press firmly for 30 seconds and wait 1 hour before hanging the poster. The adhesive needs time to bond fully. Hanging immediately is the most common reason strips fail.
The part most framing guides skip
Most how-to articles treat every poster the same. They don't. A $4 print from an online shop and a signed Amari Bandz concert poster from a sold-out show are not the same object, and they shouldn't be framed the same way.
For anything replaceable, spend your money on the frame and the glazing, not the mounting method. Removable strips or cheap foam core mounting are fine. Swap the poster out when you're tired of it.
For anything with real value, whether that's a vintage piece, a signed merch print, or a limited-edition release, the mounting method is where you protect the investment. Photo corners cost almost nothing. Japanese tissue hinges take 20 minutes to learn. UV-filtering acrylic adds maybe $20–40 to a large frame. None of those costs are significant compared to what a bad tape job does to a poster you actually care about.
Framing fan merch is also a display decision, not just a preservation one. A well-framed poster on a wall says something about how much you value the music and the artist behind it. If you're building a fan room or a display wall, home décor choices genuinely affect how a space feels day to day. Frame the pieces that matter. Use strips for the rest.
If you're looking for Amari Bandz posters and merch worth framing, the official Amaribandz merch store carries limited-edition prints and artist-branded pieces that look sharp on any wall. Frame them right and they'll hold up for years.

Sources
- Posters
- How to Frame a Poster
- Scotch® Removable Poster Tape | 3M United States
- How to Frame a Poster - wikiHow