
For most hard surfaces, the fastest safe route is low heat from a hair dryer, 70%+ isopropyl alcohol, or a short oil soak. That covers glass, metal, most plastics, and laptop lids. For wood, fabric, and anything with a delicate finish, you want a baking-soda/oil paste or white vinegar tested on a hidden patch first. Whatever surface you're dealing with, the sequence is always the same: soften the adhesive, lift it with a plastic tool, then clean off any oily or chemical film.
Grab these before you start:
- 70%+ isopropyl alcohol (rubbing alcohol)
- White vinegar
- Household oil (olive, coconut, or baby oil)
- Dawn dish soap or similar
- A plastic card (old credit card works perfectly)
- Microfiber cloth or cotton balls
Pro Tip: Test any solvent on a hidden patch first. Thirty seconds of patience there can save you from a permanent scuff.
Table of Contents
- How do you remove sticker residue step by step?
- Which method works best for your specific surface?
- What are the best household methods for removing adhesive?
- What should you do when the residue won't come off?
- Expert safety rules that prevent permanent damage
- Key Takeaways
- The mistake most people make
- Useful sources for going deeper
How do you remove sticker residue step by step?
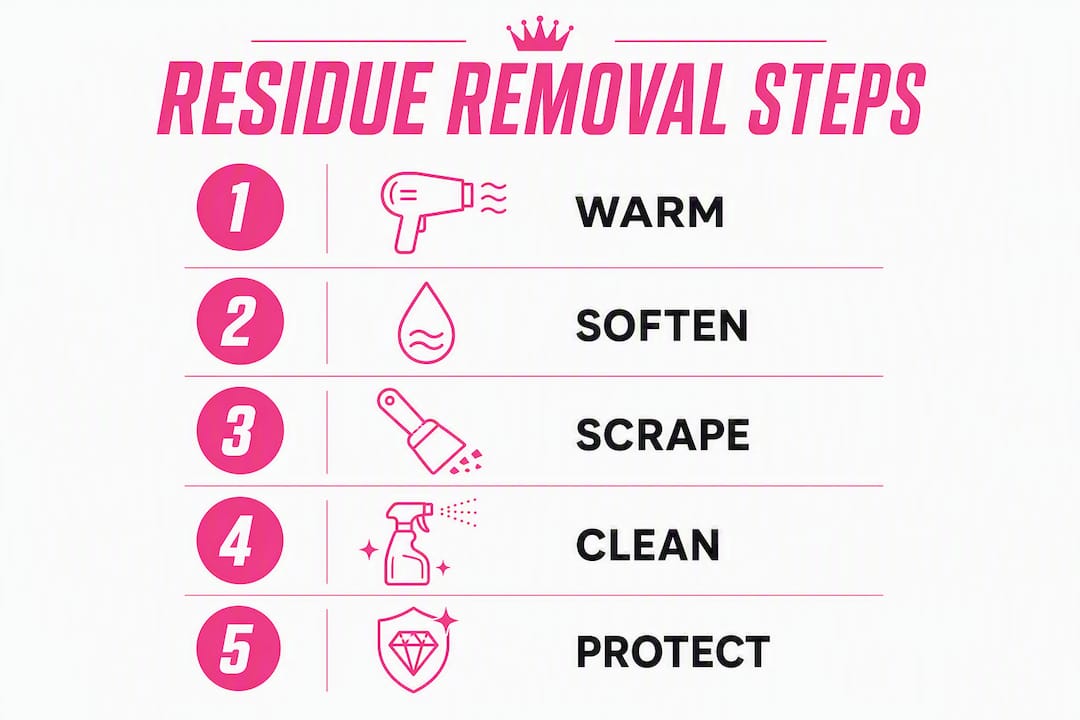
This sequence works on most surfaces. Start with the gentlest method and escalate only if needed.
- Wash with warm soapy water first. Mix a few drops of Dawn with warm water and rub the residue for 30–60 seconds. Fresh or light adhesive often comes off right here. Rinse and dry before moving on.
- Soften the adhesive. If soap didn't do it, apply heat or a soaking agent. Hold a hair dryer on low/medium 4–6 inches from the surface for 30–60 seconds. Alternatively, soak a cloth in oil for 10–15 minutes or vinegar for 5–10 minutes and lay it on the residue.
- Test a hidden patch. Before applying any solvent to the main area, dab a small amount in an inconspicuous spot. Wait 60 seconds and check for discoloration, cloudiness, or finish lifting.
- Lift with a plastic card. Once the adhesive is soft, slide the edge of a plastic card under the residue at a low angle. Work slowly. Metal scrapers scratch most finishes.
- Apply your chosen solvent. Dampen a microfiber cloth or cotton ball with isopropyl alcohol, vinegar, or oil. Press and hold for 30–60 seconds, then wipe in one direction. Don't scrub in circles.
- Clean and degrease. Finish with warm soapy water to remove any oily or chemical residue. Dry thoroughly.
Pro Tip: If the residue is balling up as you wipe, that's a good sign. Roll it off with your fingertip rather than spreading it further across the surface.
Which method works best for your specific surface?
Glass and ceramic
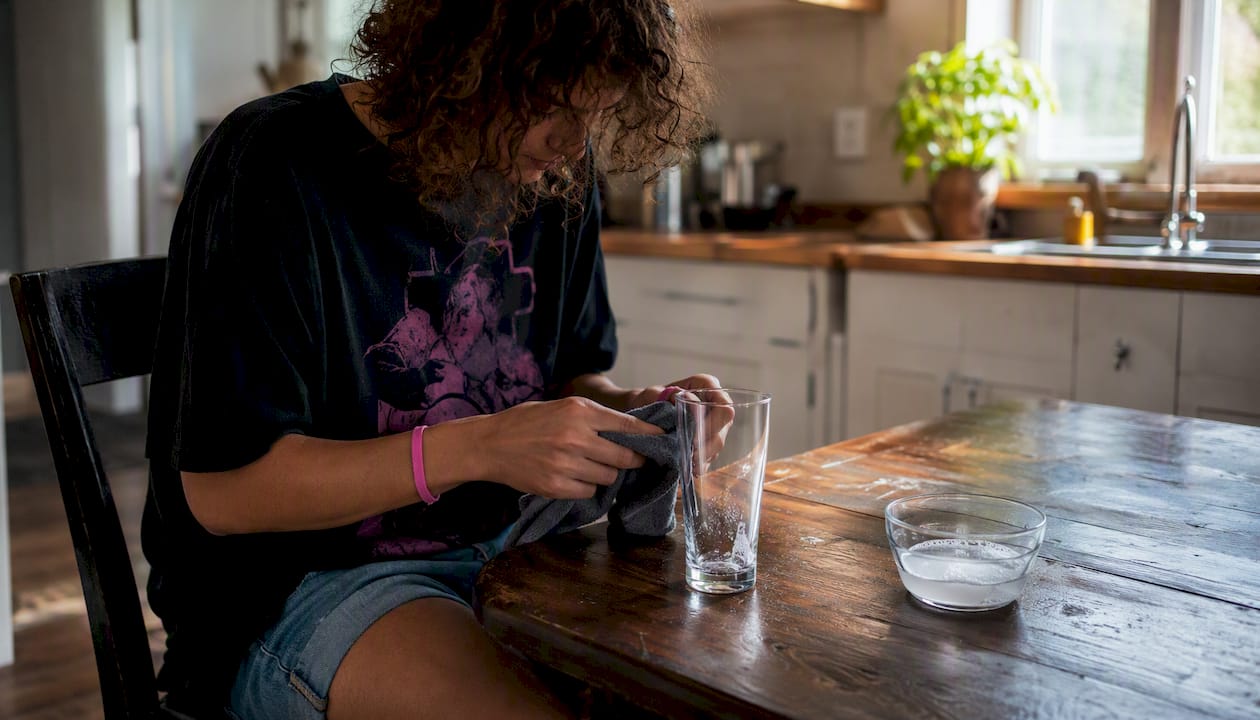
Glass is the most forgiving surface. Heat, oil, and isopropyl all work well. Warm the residue with a hair dryer for 30–60 seconds, then slide a plastic card under it. Follow up with isopropyl on a cloth for any remaining film. Rinse with warm water and dry to avoid streaks. Ceramic handles the same treatment.
Metal and stainless steel
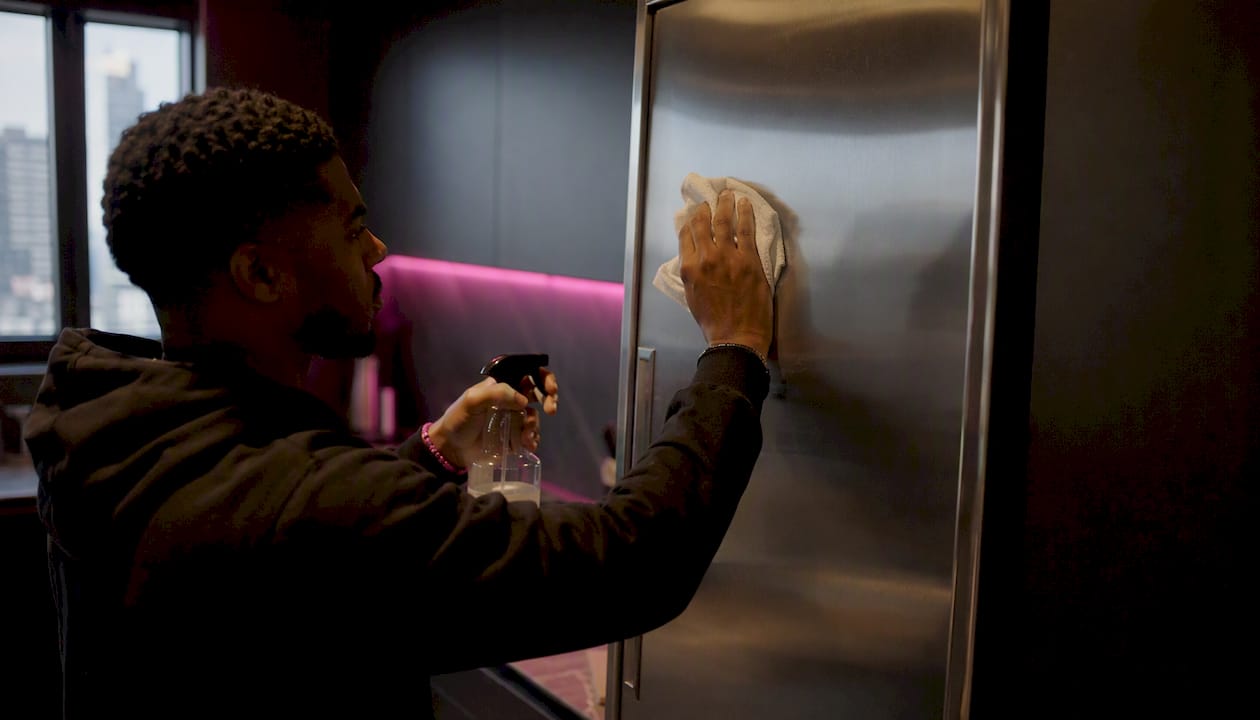
Isopropyl alcohol or oil are your first choices on metal. On stainless steel, always wipe with the grain, not against it. Wiping across the grain leaves micro-scratches that catch light. Apply oil or alcohol on a cloth, let it sit for a minute, then wipe along the grain. Avoid abrasive pads entirely.
Plastic
Natural oils like coconut, olive, or vegetable oil break down adhesive on plastic when left to soak for 10–15 minutes. Isopropyl works too, but use it sparingly on thin or painted plastics. Low heat is fine on thick, rigid plastic. Never use acetone. It chemically dissolves many plastics, leaving cloudy, pitted spots that can't be reversed.
Pro Tip: On soft or flexible plastics, skip heat entirely. Even a hair dryer on low can warp thin material if held too close.
Painted or varnished wood
Wood needs the gentlest approach. A paste of baking soda and coconut oil works well here: mix roughly equal parts, apply to the residue, and let it sit for 5–10 minutes before wiping. Finished wood benefits from this baking-soda/oil paste rather than solvents. Avoid vinegar and acetone on varnished surfaces without testing first, since acids can cloud or strip the finish. Never soak wood with any liquid.
Fabric and clothes
Dab the residue with isopropyl alcohol or white vinegar using a cotton ball. Work from the outside of the spot inward so you don't spread it. Let it sit for a minute, then blot. Launder the item immediately after. Avoid oil on fabric. It lifts the adhesive but leaves a grease stain that's often harder to remove than the original residue. Never put the item in the dryer until you've confirmed the residue is fully gone. Heat sets adhesive into fibers permanently.
Electronics and laptops
Power off the device and remove the battery if it's accessible and sits near the sticker area. Use a small amount of 70%+ isopropyl on a microfiber cloth, not directly on the device. Press a plastic card or guitar pick flat against the surface to lift residue. Never spray anything directly onto electronics. The goal is a barely damp cloth, not a wet one. Isopropyl evaporates quickly, which is why it's the standard choice for screens and laptop lids.
Pro Tip: An old gift card or hotel key card is the ideal scraper for a laptop lid. It's rigid enough to lift residue but soft enough not to scratch the finish.
Paper and cardboard
Liquids are mostly off the table here since they warp and stain paper. Try gently rubbing the residue with a clean eraser. Very light sanding with fine-grit sandpaper can work on cardboard. Accept that some adhesives on paper simply can't be removed without damaging the surface. If the item has value, stop early and consult a conservator.
What are the best household methods for removing adhesive?
Here's how the most common options compare, including what they're best for, how long they take, and what cleanup looks like.
| Method | Best for | Time to effect | Risk of surface damage | Cleanup needed | Scent/toxicity |
|---|---|---|---|---|---|
| Warm soapy water (Dawn) | Fresh residue, most surfaces | 30–60 seconds | Low | Rinse with water | None |
| 70%+ isopropyl alcohol | Glass, metal, electronics, hard plastic | 30–60 seconds | Low to medium | Wipe dry | Mild; ventilate |
| White vinegar | Glass, metal, ceramic | 5–10 minutes | Low on glass; medium on wood | Rinse with water | Mild; ventilate |
| Household oils (olive, coconut, baby oil) | Plastic, metal, glass | 10–15 minutes | Low on nonporous; high on fabric | Degrease with soap | None |
| Baking soda + oil paste | Wood, painted surfaces | 5–10 minutes | Low | Wipe and rinse | None |
| WD-40 / Goo Gone | Stubborn residue on hard surfaces | 2–5 minutes | Medium | Degrease thoroughly | Strong; ventilate well |
| Low heat (hair dryer) | Most hard surfaces | 30–60 seconds | Medium on thin plastic | None | None |
A few notes on each:
- Warm soapy water is always the right first step. It costs nothing and removes more residue than people expect, especially on glass and ceramic.
- Isopropyl alcohol evaporates fast, which makes it ideal for electronics and surfaces where moisture is a risk. Use 70%+ concentration. Lower concentrations contain more water and work less effectively on adhesive.
- White vinegar is a solid low-cost option for glass and metal. Soak a paper towel, lay it on the residue for 5–10 minutes, then scrape with a plastic card. Skip it on varnished wood.
- Household oils need a 10–15 minute soak to break down the adhesive bond. They're gentle on plastic and metal but require a degreasing step afterward with dish soap.
- Baking soda + oil paste is the go-to for finished wood and painted surfaces where you can't risk a solvent.
- WD-40 and Goo Gone work fast on stubborn residue. Both require thorough degreasing after use. Open a window. WD-40 in particular has a strong petroleum smell that lingers.
- Low heat softens the adhesive without chemicals. It's the best starting point for any hard surface before you reach for a solvent.
Surface compatibility is the deciding factor for which method you choose. Acids like vinegar are fine on glass but can damage varnished wood. Oils are safe on plastic but ruin fabric. Matching the method to the material is the whole game.
What should you do when the residue won't come off?
Most stubborn residue responds to a longer soak or a slightly stronger solvent. Work through this order before giving up or reaching for something aggressive.
- Repeat the gentle method with more time. If oil didn't work in 10 minutes, try 20. If warm water didn't budge it, add a few drops of Dawn and let it sit.
- Move to isopropyl alcohol. Apply to a cloth, press it against the residue for 60 seconds, and wipe. Repeat twice if needed.
- Try a commercial remover. Goo Gone is safer on most surfaces than WD-40 and works well on hard plastics and metal. Apply, wait 2–5 minutes, then wipe and degrease.
- Use a plastic scraper. After soaking, a plastic card at a low angle can mechanically lift residue that solvents have loosened but not fully dissolved.
- Accept the residue or get professional help. Some adhesives bond too deeply to remove without damage.
Stop after two failed gentle attempts on any surface with a finish you care about. If plastic is warping, a finish is clouding, or the surface color is changing, you've hit the limit of DIY removal. Antique furniture, high-value instruments, and bonded automotive trim are worth a professional's time.
Red flags to watch for: plastic warping or going white, finish lifting or clouding, color change in the surface, or residue pressing deeper into wood grain. Any of these means stop immediately.
Expert safety rules that prevent permanent damage
Getting the adhesive off is only half the job. Doing it without wrecking the surface is the other half.
- Hair dryer distance matters. Hold it 4–6 inches from the surface on low or medium heat. Move it constantly. Holding it in one spot on thin plastic or near a laptop battery is how things go wrong. Batteries near a heat source can overheat, which is why you power off and remove the battery before applying heat near electronics.
- Use 70%+ isopropyl, not lower. Lower concentrations have more water, which means more moisture risk and weaker adhesive-dissolving power. Keep the cloth damp, not dripping.
- Isopropyl can strip rubberized coatings and some paints. Always test in an inconspicuous area and avoid saturating the surface. A barely damp cloth is the right amount.
- Never use acetone on plastic. It dissolves the plastic itself, not just the adhesive. The damage is permanent.
- Ventilate when using WD-40, Goo Gone, or commercial removers. Open a window. These products release fumes that build up quickly in small spaces.
- Degrease after any oil-based method. Skipping this step leaves an oily film that attracts dust and can stain fabric or wood over time.
Pro Tip: After an oil soak on fabric, apply a small amount of Dawn directly to the spot and work it in before laundering. This pulls the oil out before the wash cycle dilutes it. If you skip this step and the oil sets in the dryer, you'll have a grease stain to deal with on top of everything else.
Key Takeaways
For most surfaces, the fastest and safest way to get rid of sticker residue is to soften it first with heat or oil, lift it with a plastic card, and finish with isopropyl alcohol or soapy water to clean the surface.
| Point | Details |
|---|---|
| Start mild, always | Begin with warm soapy water before reaching for any solvent. |
| Test a hidden patch | Apply any solvent to an inconspicuous spot for 60 seconds before treating the full area. |
| Match method to material | Use isopropyl for hard surfaces and electronics; oils for plastic and metal; baking-soda paste for wood. |
| Avoid acetone on plastic | Acetone dissolves many plastics and causes irreversible clouding or pitting. |
| Degrease after oil | Always follow an oil-based removal with dish soap and warm water to prevent staining. |
The mistake most people make
The single most common error is reaching for the strongest thing available first. Someone grabs acetone nail polish remover or cranks a heat gun because they want the residue gone fast, and they end up with a cloudy plastic panel or a stripped finish that can't be undone.
The slower approach actually gets you there faster in the end. A 15-minute oil soak followed by a plastic card takes longer than a blast of acetone, but the surface looks the same as before you started. That's the outcome worth aiming for.
One habit worth building: keep an old plastic card and a small microfiber cloth in your cleaning kit. Those two tools handle 80% of residue situations before you ever need a solvent. The card lifts, the cloth wipes, and most of the time that's enough.
Useful sources for going deeper
These are the most reliable references used to put this guide together. If you're dealing with a specific surface or a tricky situation, these are worth reading in full.
- How to Remove Sticker Residue from Any Surface (The Clean Tips) — solid surface-by-surface breakdown covering glass, ceramic, stainless steel, and finished wood.
- How to Cleanly Remove Stickers from a Laptop (iFixit) — the most detailed electronics-specific guide available, including battery safety warnings.
- Non-Toxic Adhesive Removal (Instructables) — covers oil-based methods and soak times for nonporous surfaces.
- 6 Genius Ways to Get Stickers Off Without Leaving Any Residue (The Spruce) — includes the vinegar paper-towel method and practical tips for fabric.
- How to Remove Adhesives (Loctite) — authoritative source on surface compatibility and where acids like vinegar are appropriate.
If you're a fan picking up Amaribandz merch and want to keep your stickers looking clean on apparel or accessories, the fabric and plastic methods above apply directly. For everything else from the artist, Amaribandz has the full catalog.